Gipfeli Recipe: Flaky Pastry Perfection at Home
Picture this: a crisp, golden-brown crescent of pastry, flaky layers that shatter delicately with each bite, and a buttery aroma that fills your kitchen. This, dear readers, is the gipfeli – Switzerland’s answer to the French croissant. If you’ve ever wandered the charming streets of Zurich or Basel, you’ve likely encountered these delightful treats in local bakeries. But why limit yourself to enjoying gipfeli only on Swiss vacations? Today, we’re bringing this Alpine breakfast staple right to your kitchen with an authentic gipfeli recipe that’s sure to impress.
Whether you’re a seasoned baker looking to expand your repertoire or a curious food enthusiast eager to try something new, this gipfeli recipe is perfect for you. So, roll up your sleeves, dust off that apron, and let’s dive into the world of Swiss pastry-making!
What is Gipfeli?
Before we jump into our gipfeli recipe, let’s take a moment to understand what makes this pastry so special.
Brief History
Gipfeli, also known as Buttergipfel in some regions, is a Swiss variation of the French croissant. While its exact origins are debated, many believe that the gipfeli predates the croissant, with some food historians tracing its roots back to the 13th century in Austria.
Gipfeli vs. Croissant
While gipfeli and croissants share many similarities, there are a few key differences:
- Shape: Gipfeli tend to have a more pronounced crescent shape with thinner, pointier ends.
- Texture: Gipfeli are often crispier and flakier than their French counterparts.
- Flavor: The Swiss pastry typically has a more pronounced buttery taste.
- Size: Gipfeli are usually smaller than croissants.
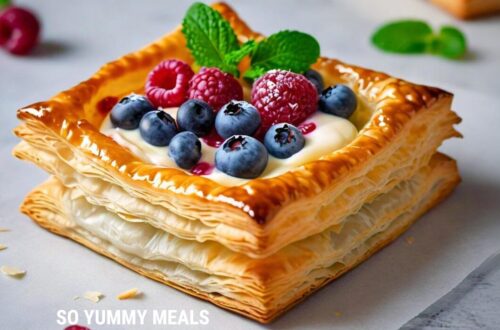
Ingredients for the Perfect Gipfeli
Now that we’ve covered the basics, let’s gather our ingredients. This gipfeli recipe yields approximately 12-15 pastries.
Equipment
- Bowl
- pitcher
Ingredients
For the Dough:
- 500 g all-purpose flour
- 10 g salt
- 50 g sugar
- 20 g fresh yeast (or 7g active dry yeast)
- 300 ml cold milk
- 1 egg (for egg wash)
For the Butter Layer:
- 300 g cold unsalted butter
Instructions
Preparing the Dough
- In a large bowl, mix the flour, salt, and sugar.
- If using fresh yeast, crumble it into the cold milk and stir until dissolved. For dry yeast, sprinkle it over the cold milk and let it sit for 5 minutes before stirring.
- Add the milk mixture to the dry ingredients and knead for about 10 minutes until you have a smooth, elastic dough.
- Shape the dough into a rectangle, wrap it in plastic wrap, and refrigerate for at least 2 hours or overnight.
Preparing the Butter Layer
- Place the cold butter between two sheets of parchment paper.
- Using a rolling pin, pound and roll the butter into a rectangle about 20x30cm (8×12 inches).
- Refrigerate the butter sheet until you're ready to use it.
Laminating the Dough
- Roll out the chilled dough on a lightly floured surface into a rectangle about 30x50cm (12×20 inches).
- Place the butter sheet in the center of the dough rectangle.
- Fold the dough over the butter, encasing it completely. Pinch the edges to seal.
- Roll the dough out into a long rectangle, about 20x60cm (8×24 inches).
- Fold the dough in thirds, like a letter. This completes your first "turn."
- Wrap the dough and refrigerate for 30 minutes.
- Repeat steps 4-6 two more times, for a total of three turns. After the final turn, refrigerate the dough for at least 2 hours or overnight.
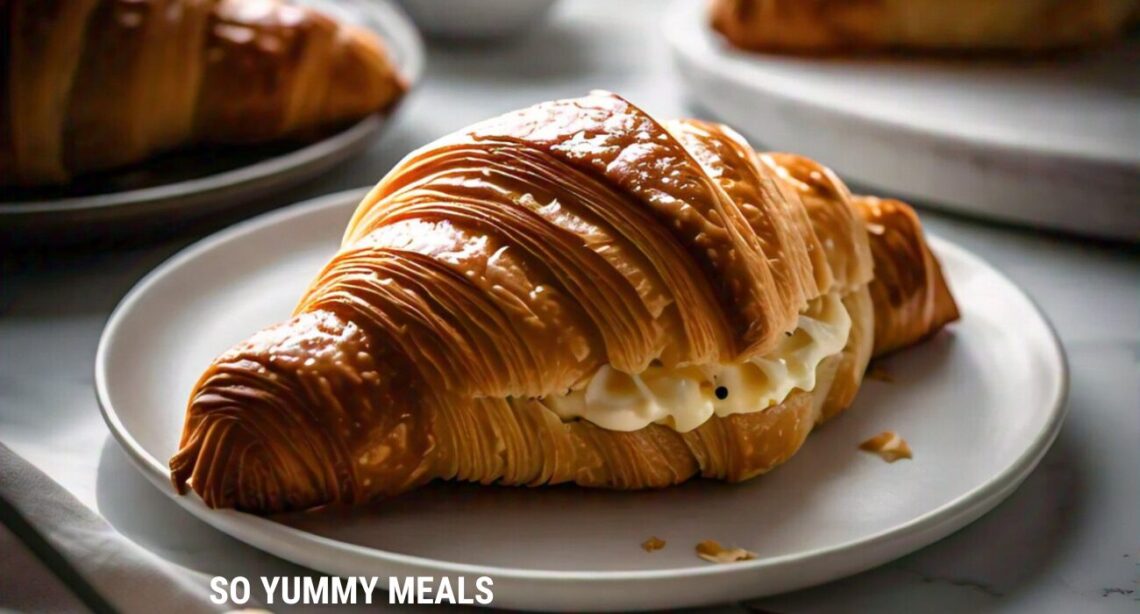
Shaping and Baking
- Roll out the chilled dough into a large rectangle, about 30x90cm (12×36 inches) and 3-4mm thick.
- Cut the dough into long, narrow triangles, each about 25cm (10 inches) long and 8cm (3 inches) wide at the base.
- Starting from the wide end, roll each triangle tightly towards the point, slightly stretching the dough as you roll.
- Place the shaped gipfeli on baking sheets lined with parchment paper, leaving space between each pastry.
- Let the gipfeli rise in a warm place for about 1-2 hours, or until they've visibly puffed up.
- Preheat your oven to 200°C (400°F).
- Brush the gipfeli with beaten egg.
- Bake for 15-20 minutes, or until golden brown and crispy.
Notes
Tips for Gipfeli Success
Making gipfeli can be a bit tricky, especially for first-timers. Here are some tips to help you achieve pastry perfection:Temperature is Key
- Keep your ingredients cold. This is crucial for achieving those flaky layers.
- If at any point your dough becomes too soft or the butter starts to melt, pop it back in the fridge for 15-20 minutes.
Patience Pays Off
- Don’t rush the process. The resting periods are essential for developing flavor and texture.
- Allow ample time for the final rise before baking. This ensures a light, airy texture.
Practice Makes Perfect
- Don’t be discouraged if your first batch isn’t picture-perfect. Laminated doughs take practice.
- Each time you make this gipfeli recipe, you’ll improve your technique.
Nutrition
Variations on the Classic Gipfeli Recipe
While traditional gipfeli are delicious on their own, there’s always room for creativity in the kitchen. Here are some variations you might want to try:
Whole Wheat Gipfeli
For a nuttier flavor and added nutrition, replace up to half of the all-purpose flour with whole wheat flour. Keep in mind that this may result in a slightly denser texture.
Cheese Gipfeli
Before rolling your gipfeli, sprinkle some grated Gruyère or Emmentaler cheese on the dough. The cheese will melt during baking, creating a savory twist on the classic.
Sweet Gipfeli
For a dessert-like treat, brush the shaped gipfeli with melted butter and roll them in cinnamon sugar before baking. After baking, you can drizzle them with a simple glaze made from powdered sugar and milk.
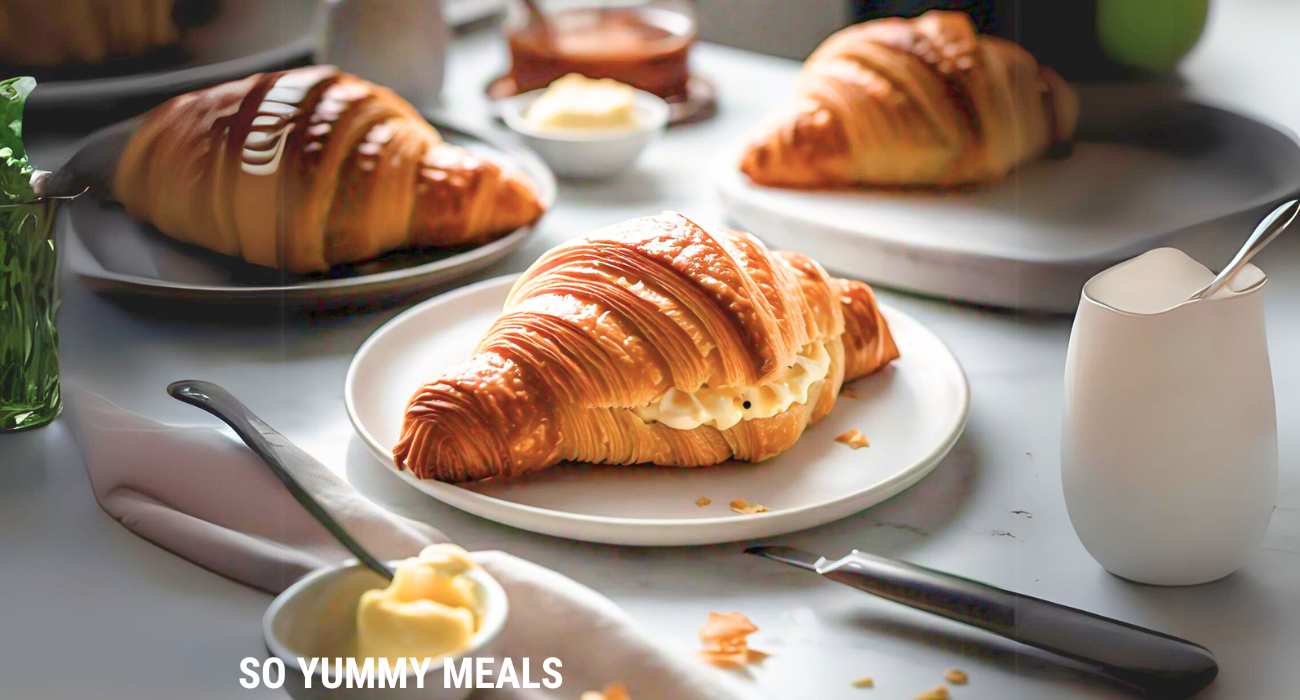
Serving and Storing Your Gipfeli
Serving Suggestions
Gipfeli are best enjoyed fresh from the oven, when they’re still warm and at their crispiest. Here are some serving ideas:
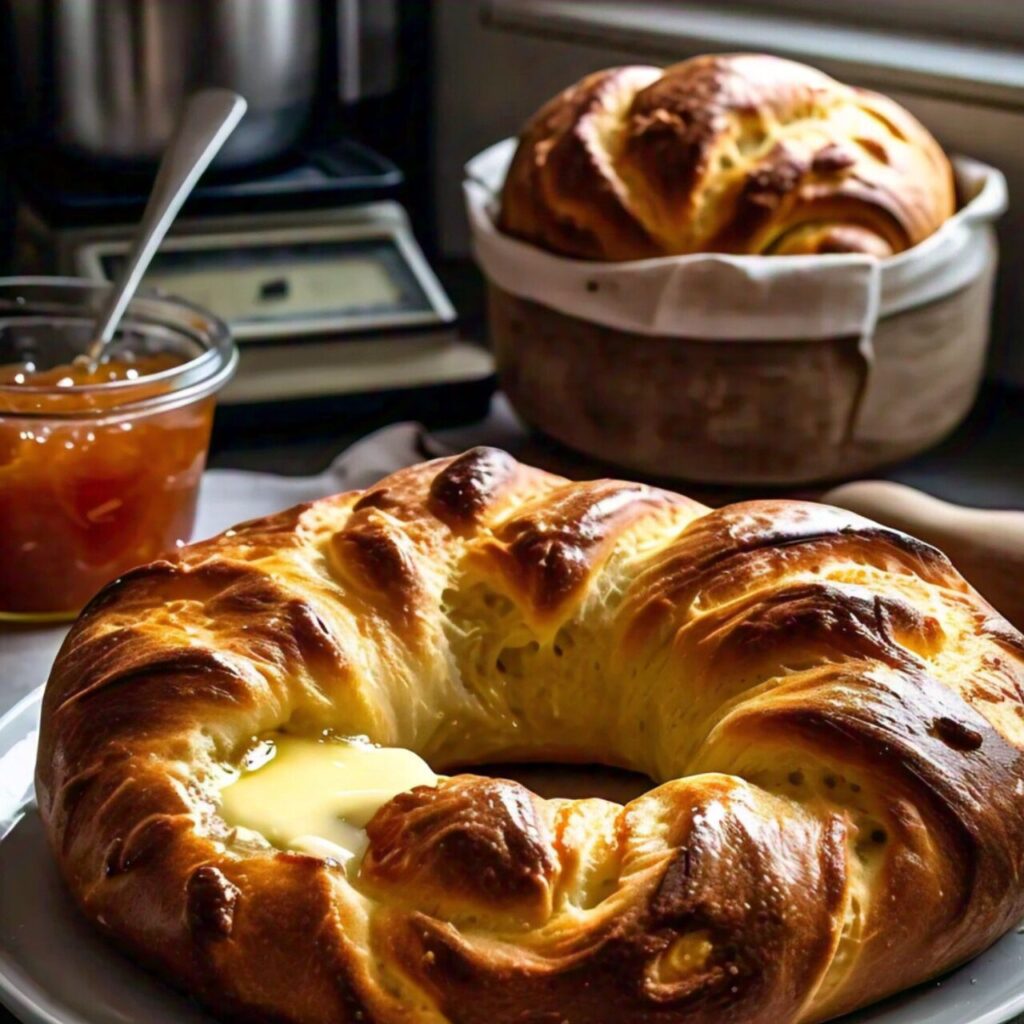
- Pair with a strong cup of coffee or tea for a traditional Swiss breakfast.
- Serve with a variety of jams and preserves for a delightful brunch spread.
- Use as a base for sandwiches – try filling with ham and cheese for a savory lunch.
Storage Tips
While gipfeli are undoubtedly best fresh, you can store them for later enjoyment:
- Room temperature: Keep in an airtight container for 1-2 days. Refresh in a 350°F oven for a few minutes before serving.
- Freezer: Freeze baked gipfeli for up to 2 months. Thaw at room temperature and reheat in the oven.
- For longer storage, freeze the shaped, unbaked gipfeli. When ready to bake, let them thaw and rise at room temperature before baking as directed.
The Cultural Significance of Gipfeli
Gipfeli are more than just a tasty pastry – they’re an integral part of Swiss food culture. In Switzerland, these crescent-shaped delights are a staple of the Znüni, a mid-morning snack break similar to the British elevenses. It’s common to see Swiss workers enjoying a gipfeli with their coffee during this daily ritual.
The popularity of gipfeli also speaks to Switzerland’s unique position at the crossroads of European cultures. While clearly influenced by Austrian and French pastry traditions, the Swiss have made gipfeli their own, creating a pastry that’s distinctly Swiss in its precision and quality.
Gipfeli: A Versatile Treat
One of the beauties of mastering this gipfeli recipe is the versatility it offers. While traditionally a breakfast item, gipfeli can be enjoyed throughout the day in various ways:
Breakfast
The most classic way to enjoy gipfeli is at breakfast. Serve them alongside a café au lait or hot chocolate for a true Swiss morning experience. If you’re feeling indulgent, spread some high-quality butter and apricot jam on your gipfeli – a combination that’s popular in Swiss households.
Lunch
Gipfeli make excellent sandwich bread. Try slicing them lengthwise and filling with thinly sliced prosciutto, fresh mozzarella, and a handful of arugula for a delicious lunch.
Afternoon Snack
For a sweet afternoon pick-me-up, split a gipfeli and spread with Nutella or another chocolate-hazelnut spread. Pair with a cup of tea for a delightful break in your day.
Dinner Accompaniment
While not traditional, gipfeli can be a unique addition to your dinner table. They pair wonderfully with soups and stews, perfect for soaking up every last bit of flavor.
Troubleshooting Your Gipfeli Recipe
Even with the best intentions and careful following of the recipe, things can sometimes go awry. Here are some common issues you might encounter when making gipfeli, and how to solve them:
Problem: Dough is too sticky
Solution: If your dough is overly sticky, it likely has too much moisture. Add a little more flour, a tablespoon at a time, until the dough reaches the right consistency. Remember, it should be smooth and elastic, not sticky.
Problem: Butter is leaking out during baking
Solution: This usually happens when the butter gets too warm. Make sure you’re working with cold butter and dough, and if you notice the butter starting to soften too much at any point, return the dough to the refrigerator for 15-20 minutes.
Problem: Gipfeli aren’t rising properly
Solution: This could be due to inactive yeast or insufficient proofing time. Make sure your yeast is fresh and active, and give your shaped gipfeli enough time to rise before baking. A warm (but not hot) environment will encourage better rising.
Problem: Gipfeli aren’t flaky
Solution: Flakiness comes from the layers created during the lamination process. Make sure you’re folding and rolling the dough as directed, and always work with cold dough and butter.
Conclusion
Congratulations! You’ve now got all the knowledge you need to create authentic Swiss gipfeli right in your own kitchen. From understanding the history and cultural significance of this beloved pastry to mastering the techniques for achieving that perfect flaky texture, you’re well on your way to becoming a gipfeli expert.
Remember, like all good things in baking, perfecting your gipfeli recipe takes practice. Don’t be discouraged if your first attempt isn’t picture-perfect – each batch will be better than the last as you become more familiar with the dough and the process.
So why not give this gipfeli recipe a try this weekend? Imagine the satisfaction of pulling a tray of golden, crescent-shaped pastries from your oven, filling your home with the irresistible aroma of freshly baked gipfeli. Whether you enjoy them with your morning coffee, as an afternoon snack, or as part of a special brunch with friends, these Swiss delights are sure to become a new favorite in your baking repertoire.
Happy baking, and enjoy your homemade gipfeli!


You May Also Like

Fluffy Kodiak Pancakes in 10 Minutes – No Guilt!

Easy Steps to the Perfect American Plum Tart